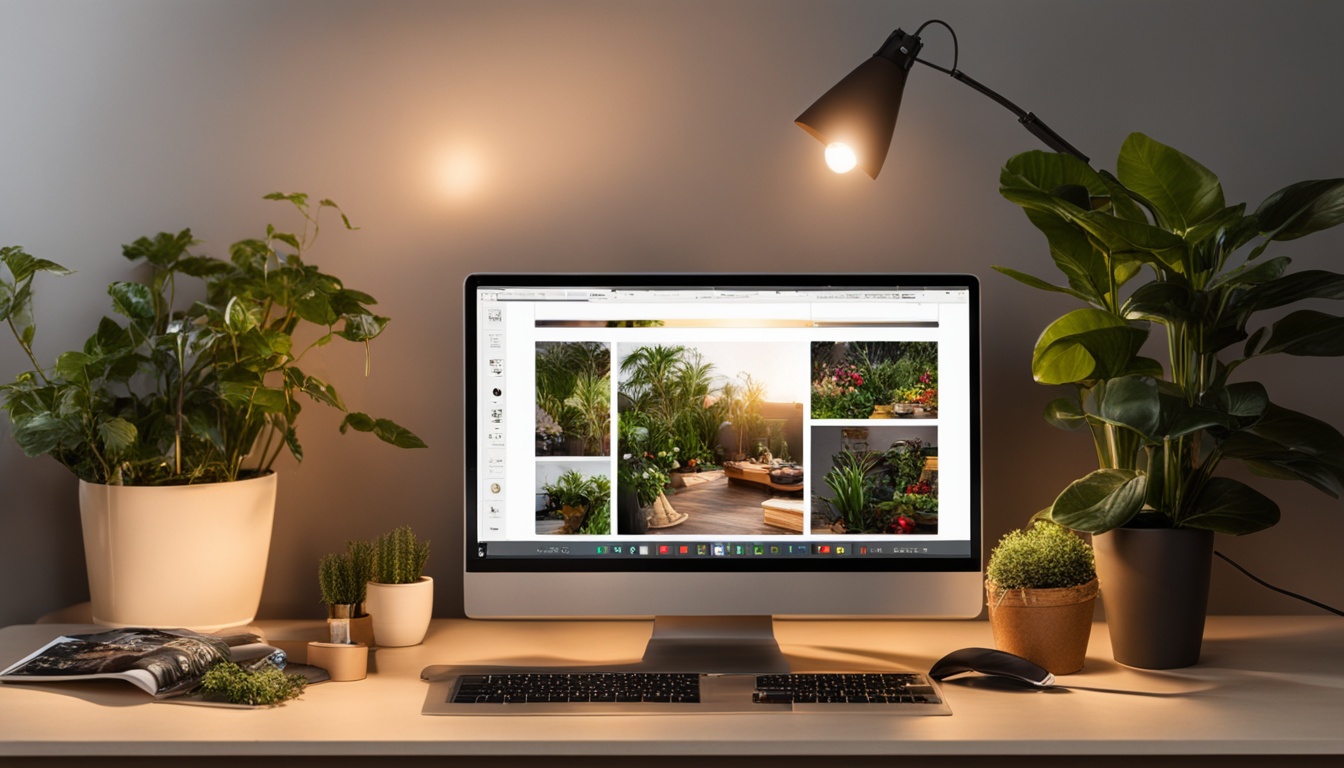
Imagine turning your home office into a professional studio. The right lighting can make your blog stand out. But what lighting is best for home blogging1?
This guide will cover the key lighting tools, methods, and tips for great content at home. It’s for both new and experienced bloggers. We’ll show you how to make your home office look professional for videos and photos. Get ready to improve your blog and wow your audience23.
Importance of Good Lighting for Home Blogging
Good lighting is key for home bloggers. It affects your photos and videos’ quality 1. It makes your content look better and attracts more viewers4. Plus, it helps you work better by easing eye strain and making your space more comfortable5.
How Lighting Impacts Photo and Video Quality
Warm lighting, with a temperature of 2700K to 3000K, is great for homes. Cool lighting, at 4500K to 6500K, suits commercial areas better4. Warm lighting makes spaces feel cozy, while cool lighting adds a bright, clean look4.
To improve your space, try using warmer lighting, add lamps, and use string lights for a soft glow4. The article shows how lighting affects the mood of a room4.
Role of Proper Lighting in Enhancing Productivity
Lighting is vital for many aspects of a space, like looks, function, safety, and feel5. It helps you work well, relax, and sleep better5. Lighting design adds depth and highlights important areas5.
Working with a lighting design firm can greatly improve your space5. Mills offers top-notch LED lights for different areas and ensures they work well with dimmers5.
Great lighting brightens a room and highlights key features6. It makes rooms look bigger when combined with color6. Quality lights also add to your space’s look6.
Most people say good lighting makes their blogs feel welcoming6. It makes rooms seem bigger and looks better6. Many prefer lights that fit different styles and value quality lights for lasting use6.
Essential Home Blogging Lighting Equipment
To make your home blog look great, you need the right lighting gear. Light reflectors and diffusers soften and control the light for a better look7. A strong tripod and camera remote help get sharp, steady shots7. Continuous LED lights and light stands are great for flexible lighting that you can adjust easily7.
Light Reflectors and Diffusers
Light reflectors and diffusers are key for improving your blog’s visuals7. They make the light softer and more even, giving your blog a nicer look7. A 5-in-1 reflector is a smart buy, offering many uses at a low cost7.
Tripods and Camera Remotes
A good tripod and camera remote are must-haves for clear, steady shots7. They help keep your camera steady and your shots sharp, making your blog look professional7.
Continuous LED Lights and Light Stands
Continuous LED lights and light stands offer flexible lighting for your blog7. You can adjust them to get the right lighting for your shots, letting you try out different looks7.
| Lighting Equipment | Recommended Features | Approximate Cost |
|---|---|---|
| Light Reflectors and Diffusers |
|
|
| Tripods and Camera Remotes |
|
Varies based on brand and features |
| Continuous LED Lights and Light Stands |
|
|
With the right lighting gear, your blog will look better and engage your readers more9. Having the right tools lets you try different lighting setups to find what works best for your blog9.
Best Lighting for Home Blogging
Finding the best lighting for home blogging isn’t easy. The right lighting setup depends on your home office size, the type of content you make, and what you like. We’ll look at different lighting methods and setups to help you find the perfect one for your blogging.
For video bloggers, good lighting is key. It makes your videos look better, sets the mood, and cuts down on editing later10. There are two main types of lights for vlogging: those for phones and those for cameras10. Camera lights include on-camera LEDs and off-camera lights like panels and point lights10. These use different tech like tungsten, fluorescent, and LED10. Phone lights are small and attach to your phone in various ways10.
The COLBOR CL60 is great for desk vlogging, the COLBOR PL8R for makeup vlogging, and the COLBOR PL8B for travel vlogging10. These lights have cool features like adjustable color, different modes, long battery life, and more10.
| Vlogging Light | Recommended for | Key Features |
|---|---|---|
| COLBOR CL60 | Desk Vlogging | Adjustable color temperature, dimmable, long battery life |
| COLBOR PL8R | Makeup Vlogging | Soft, even lighting, multiple lighting modes, compact design |
| COLBOR PL8B | Travel Vlogging | Portable, lightweight, versatile mounting options, USB-C charging |
If you use a camera for blogging, the GoPro Black 10 and Logitech C922 Pro Stream Web Camera are good choices for indoor videos11. The Emart Ring Light is also popular for even lighting and avoiding shadows11. You can find these lights for under $20 or over $10011.
For a cozy video look from an office, try the Emart Tabletop Studio Lights11. Using white paper lanterns can also give a soft glow, and you can use colored ones for fun effects11. Placing office lamps on each side of your camera works well too11.
Choosing the right light is key, whether it’s harsh or soft light, to get the look you want11. Using diffusion, bouncing lights, or making them bigger can soften harsh light11.
By checking out these lighting options and methods, you can set up a great home blogging space. The best lighting is what suits your needs and likes.
Camera and Lens Choices for Home Blogging
The cameras and lenses you pick greatly affect your blog’s quality12. You don’t need the priciest gear, but a good DSLR or mirrorless camera and a versatile lens can improve your photos and videos.
For home bloggers, consider the Canon EOS R10, rated 9 for blogging12. The Sony α6400 is top for mid-range, also rated 912. The Canon EOS R50 is great for those on a budget, with a 10 rating12. The Sony ZV-1 is perfect for point-and-shoot, rated 512.
13 Cameras range from $200 to $10,000, and lenses matter a lot for quality. Think about what you’re shooting, sensor size, and what you like when picking your gear.
| Camera | Blogging Rating | Travel Rating | Landscape Rating | Sport/Wildlife Rating | Raw Photo Performance | Vlogging Rating | Studio Video Rating | Action Video Rating |
|---|---|---|---|---|---|---|---|---|
| Canon EOS R10 | 9 | 7.8 | 7.8 | 8.4 | 7.5 | 7.6 | 8.3 | 4.9 |
| Sony α6400 | 9 | 8.2 | 8.1 | 7.5 | 7.9 | 7.3 | 7.3 | 5.6 |
| Canon EOS R50 | 10 | 7.9 | 7.5 | 8.0 | 7.4 | 8.0 | 8.1 | 4.9 |
| Sony ZV-1 | 5 | 7.4 | 7.1 | 7.3 | 6.5 | 7.8 | 6.8 | 5.2 |

Recommended Cameras and Lenses
13 When picking cameras and lenses, think about sensor size, frame rate, and what you need. Brands like Canon, Sony, and Nikon have great gear for different photography types. Choose what fits your style and needs.
13 Camera bundles might come with cheap lenses that aren’t great for quality images. More megapixels don’t always mean better quality. Focus on performance and features that fit your blogging needs.
One-Light Setup for Home Blogging
For home bloggers, a one-light setup is a great place to start. It uses one light source, like a ring light, softbox, or LED panel, right in front of the subject. This setup may not be as complex as a multi-light setup, but it can still give professional-looking results if done right.
Think about using a ring light or a softbox for your one-light setup. A ring light gives a soft, even glow that’s great for close-up shots and selfies14. Or, a softbox can make your lighting look more natural and studio-like15. Make sure your light is at eye level or a bit above your face for the best look.
A one-light setup is easy to use16. It’s perfect for bloggers with little space or a small budget. It needs fewer lights and is easy to set up. Plus, you can move the light around to get the look you want. This makes it great for different types of content, like product shots or videos.
Even though it’s simpler than a complex setup, a one-light setup is still a strong tool for home bloggers. By learning how to use one light well, you can make your content look great. This can help you grab your audience’s attention and stand out online.
Two-Light Setup for Home Blogging
Improving your home blog’s look is easy with a two-light setup. It includes a key light and a fill light. The key light is the main light source, and the fill light reduces shadows for a balanced look17. By adjusting these lights, you can make your blog more dynamic and attractive.
The key light is set at a 45-degree angle to the subject18. It’s the main light. The fill light is softer and at a 90-degree angle to the key light18. It fills in shadows for an even look. Together, they add depth and a professional feel to your blog.
| Key Light | Fill Light |
|---|---|
This setup gives you more control and creativity18. Try different light positions and intensities to get various effects18. It’s great for portraits, product shots, or behind-the-scenes photos. A good two-light setup can make your blog look more professional.

Three-Point Lighting for Home Blogging Studio
For a pro lighting setup in your home blogging studio, try the three-point lighting method19. It uses a key light, a fill light, and a backlight or hair light19. The key light shines directly at the subject from a 45-degree angle19. The fill light on the other side reduces shadows for a balanced look19. The backlight or hair light adds depth, making the subject stand out19. Mastering these lights gives your blog a polished, movie-like quality.
Key Light Positioning
Place the key light at a 45-degree angle to the subject’s face19. This angle creates a natural shadow, adding depth to the image19. Adjust the key light’s distance and intensity to change the mood of your blog videos and photos.
Fill Light Placement
Put the fill light on the opposite side of the camera from the key light19. It should be half as bright as the key light, balancing the lighting19. Adjusting the fill light enhances your blog’s professional look.
Backlight or Hair Light Technique
The backlight sits behind the subject, creating a glowing outline19. This adds depth and a polished look to your images19. Try different backlight angles and intensities for various effects in your blog content.
Mastering three-point lighting boosts your blog’s production quality, making it more professional and engaging. Blogging is therapeutic, and good lighting helps you share your true self with your audience20.
Using Natural Window Light for Home Blogging
Using natural window light can change the game for your home blog. Optimizing natural light helps you get great photos and videos without spending a lot on artificial lights21.
North-Facing Window Lighting
North-facing windows give a soft, even light that’s great for portraits and product shots. This light has a cooler tone, giving your photos a clean, professional look22.
East and West Window Lighting
East and west windows offer directional lighting that changes with the day. Morning and evening sun give warm tones, adding depth to your photos. This makes your shots cozy and inviting22.
Knowing how to place your subject near the window and control the light can make your blog look better22.

For great natural light photos, try different window positions and times. With practice, you’ll get amazing images that boost your blog21.
Diffusing and Softening Lighting for Home Blogging
As a home blogger, making your content look great is key. Using diffusing and softening lighting can really help. Tools like light reflectors and diffusion can turn harsh light into soft, even light that’s kind to your subject’s skin23.
Try moving and adjusting these light tools to get the right soft, diffused light for your blog23. For example, the Newell RL-18A model spreads light evenly, perfect for vlogs where you talk to the camera24. The Newell Sparkle LED kit also comes with softboxes to soften the light and make your look better24.
Learning how to diffuse and soften light can make your blog look more professional. It grabs your audience’s attention and leaves a strong impression. Let light work for you to create amazing visuals.
| Lighting Equipment | Features |
|---|---|
| Newell RL-18A | Offers even light distribution, great for vlogs24 |
| Newell Sparkle LED Light Kit | Includes 2 softboxes with covers to diffuse light24 |
| Newell 320 LED Panel | Generates soft light with adjustable power settings24 |
| Newell Air 650i and 1100 | Have a built-in diffuser for softening light24 |
| Newell RGB Vividha Max | Equipped with 216 RGBWW LEDs for color experimentation24 |
Getting professional-looking visuals for your blog is all about controlling the light well. By using diffusing and softening, you can open up new creative doors and wow your audience.
Hard Light Techniques for Home Blogging
While soft light is often chosen for home blogs, hard light has its own benefits. Hard light brings sharp shadows and clear light-dark areas. It’s great for a dramatic, edgy look in fashion or editorial-style posts. Knowing when and how to use hard light can make your blog stand out.
When to Use Hard Light for Dramatic Effect
Hard light is perfect for adding depth and drama to your blog images and videos. This lighting makes facial features stand out and adds a moody feel. It’s ideal for fashion, editorial, or lifestyle posts that need a sophisticated look.
To get hard light, use a single light source like a spotlight or bare bulb at a sharp angle to your subject. This creates clear shadows and highlights, adding depth to your photos25. Try different light placements and intensities to get the look you want.

Using hard light well means knowing how it affects your subject and the scene25. Mastering hard light can add a unique, captivating element to your blog. This will grab your audience’s attention and make you stand out.
Tips for Better Lighting in Home Blogging
When blogging at home, focus on the lighting first, even before picking a spot. Good lighting can make your content look better, no matter where you are26. Try out different light tools like reflectors, diffusers, and gels to improve your lighting and find new ways to make your blog look great26.
Prioritizing Good Light Over Location
A nice setting helps, but bad lighting can ruin your content26. Instead of just choosing a spot, work on your lighting setup26. Use mirrors to bounce light around, or smart lights for better control26.
Experimenting with Light Modifiers
Playing with light tools can open up new ideas for your blog26. Try reflectors to change the light, diffusers to soften shadows27, and gels for color26. These can help you make your blog look unique and set the mood28.
| Lighting Modifier | Purpose | Benefits |
|---|---|---|
| Reflectors | Bounce and shape light | Create more dynamic lighting, reduce harsh shadows |
| Diffusers | Soften and spread light | Reduce glare and create a more even, flattering lighting |
| Gels | Add color accents | Introduce creative lighting effects and set the desired mood |
Focus on great lighting and try new light tools to make your blog stand out262728.
Understanding Exposure and Light Quality
As a home blogger, learning about exposure and light quality is key. It helps you take photos and videos that grab your audience’s attention. Knowing about aperture, shutter speed, and ISO lets you choose the right lighting and camera settings. This makes your blog look professional29.
Softbox lights soften light, reduce shadows, and make photos look like they were taken near a window29. Light reflectors bounce light back to fill in shadows and add catchlights, making your photos better29. It’s important to know how to use camera tools like exposure meters and dials to control light in your photos29.
To get the right exposure, aim for the meter’s dash in the middle. If it’s too bright, turn the dial to the right to fix it29. For dark photos, turn the dial left until the dash is in the middle29. Adjusting light sources and using camera tools helps make portrait photography easier and better29.
Source Links
- https://thediyplaybook.com/rookie-mistake-rules-for-lighting/
- https://blog.webex.com/video-conferencing/best-lighting/
- https://www.homestoriesatoz.com/decorating/lighting-to-live-by-choosing-the-best-light-bulbs-for-your-space.html
- https://amywax.com/interior-lighting-the-benefits-of-warm-lighting/
- https://mills-technologies.com/blog/lighting-and-its-multifaceted-role/
- https://eyely.com/blogs/lighting/why-is-good-lighting-important-in-a-home
- https://abbygraceblog.com/lighting-essentials-brand-photographers/
- https://spectrum-brand.com/blogs/news/top-5-best-lighting-equipment-for-youtube-videos
- https://www.mixcord.co/blogs/content-creators/best-lighting-for-video-recording
- https://www.colborlight.com/blogs/articles/beginners-guide-to-vlogging-light
- https://www.learnworlds.com/lighting-for-video-courses/
- https://www.rtings.com/camera/reviews/best/blogging
- https://horizonfound.com/what-camera-and-lens-should-i-buy/
- https://damasklove.com/how-to-take-blog-photos-lighting-setup/
- https://www.behindtheshutter.com/creating-natural-soft-studio-light-with-one-strobe/
- https://williamlulow.com/2019/02/08/how-to-make-a-lighting-setup-with-just-one-light/
- https://learningdslr.com/how-to-set-up-a-two-speedlite-home-studio-3b5794fd503a
- https://visualeducation.com/portrait-lighting-setups-two-light-setup-ideas/
- https://riverside.fm/blog/3-point-lighting
- https://www.colborlight.com/blogs/articles/set-up-home-studio-lighting-for-video
- https://medium.com/@AndrewKanFilm/use-window-lighting-to-improve-your-youtube-videos-natural-lighting-tutorial-1c8da520855f
- https://www.napcp.com/2011/03/21/finding-good-lighting-in-your-home/
- https://foodphotographyacademy.co/blog/lighting/equipment-home-food-photography-studio-lighting-equipment/
- https://newell.pro/vlog-light-which-lamp-to-choose/
- https://clt.champlain.edu/kb/creating-good-video-lighting-with-stuff-you-already-have/
- http://www.rockfordmutual.com/blog/10-ways-instantly-improve-your-home’s-lighting
- https://www.simplelighting.co.uk/blog/lighting-tips-for-better-interior-design/
- https://www.decoraid.com/blog/11-top-tips-for-lighting-your-home/
- https://sites.psu.edu/qualityphotodesignproject/step-five/